Have you ever wondered how to create those textual user interfaces that appear on console type windows? In this post I will explain how to create some simple user interfaces in C under Windows. With some simple coding, and a little bit of patience you will be able add some GUI elements to your C programs. However the following examples are only for windows operating systems. First let us take a look at some interfaces that I have done.
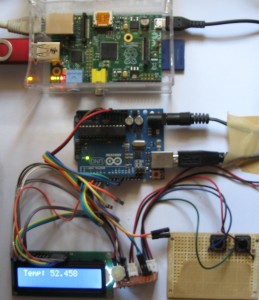
This shows a Stock Controlling System that I did as a class project. It has text boxes and message boxes and tables.


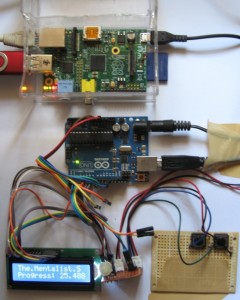
The following is the user interface of our Intelligent Car Park Management System, which we did as a group project in the university.

Understanding the Console Window
The console window can be considered as a grid, with top left corner having the coordinates (0, 0).
In order to display our programs correctly, we need to set the size of the console window. Remember to follow this step to change the window size for your programs.
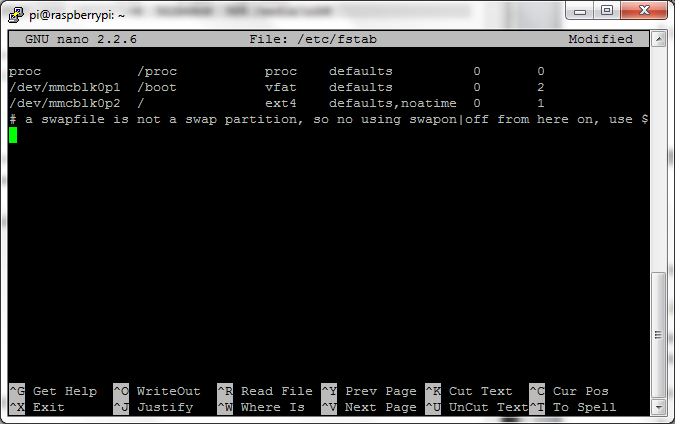
Right click on the title bar of the program and select Properties.

On the Layout tab, change the values as necessary. For this example, I will be using the settings that are shown on the screen shot.

The above procedure can be programmed into the code as well. For this refer the msdn for SetConsoleScreenBufferSize function (http://msdn.microsoft.com/en-us/library/ms686044(v=VS.85).aspx)
Alternative conio.h
We need some functions that are not implemented in the standard conio.h library. These include functions such as gotoxy(), getx(),gety() which basically manipulates the cursor position on the console window. There are a few alternate conio.h libraries available on the internet. I used the one which is available in the following forum by Arthur Christopher Watkins:
http://www.dynamicdrive.com/forums/showthread.php?t=35174
Or you can download a little bit modified version directly from here
It’s all about printf!
Now that you got the console window size adjusted, and alternate conio set up, it’s time to code!
Get an ASCII chart, and note the characters that can be used to draw lines, bends, etc. You can use the following code to print an ascii character.
int n=205;            //ascii code of the character
printf(“%c”,n);
Now you can use your creativity and imagination (and some loops of course  ) to write functions that will print lines, text boxes, rectangles, etc. Here are some functions that I wrote:
#include <stdio.h>
#include "altconio.h"

void DrawHLine(int x,int y, int length);
void DrawVLine(int x,int y, int height);
void DrawFrame(int beginx,int beginy,int width,int height);

int main()
{
	clrscr();
	DrawFrame(3,3,10,10);
	DrawVLine(15,3,10);
	DrawHLine(3,15,10);
	gotoxy(0,20);
	system("pause");
	return 0;
}

void DrawHLine(int x,int y, int length)
/*
 * this function draws a horizontal line when
 * the x,y values of the starting point and length
 * is given.
 */
{
	int count;
	int currX=getx();	//get the currecnt cursor position
	int currY=gety();
	gotoxy(x,y);
	for(count=0;count<length;count++)
		printf("%c",196);
	gotoxy(currX,currY);	//put the cursor back in place
}

void DrawVLine(int x,int y, int height)
/*
 * this function draws a verticle line when
 * the x,y values of the starting point and height
 * is given.
 */
{
	int count;
	int currX=getx();	//get the currecnt cursor position
	int currY=gety();
	gotoxy(x,y);
	for(count=0;count<height;count++)
	{
		gotoxy(x,y+count);
		printf("%c",179);
	}
	gotoxy(currX,currY);	//put the cursor back in place
}

void DrawFrame(int beginx,int beginy,int width,int height)
/*
 * this function draws a box when the
 * x,y values of the top left corner
 * and hieght and width is given, and
 * clears the inside of it.
 */
{
	int count,i,j;
	int currX=getx();	//get the currecnt cursor position
	int currY=gety();
/*-------Top Horizontal line------*/
	gotoxy(beginx,beginy);
	printf("%c",201);
	for(count=1;count<=width-2;count++)
		printf("%c",205);
	printf("%c",187);

/*-------Left verticle line-------*/
	gotoxy(beginx,beginy+1);
	for(count=1;count<=height-2;count++)
	{   printf("%c",186);
		gotoxy(beginx,beginy+1+count);
	}

/*-------Right verticle line------*/
	gotoxy(beginx+width-1,beginy+1);
	for(count=1;count<=height-2;count++)
	{   printf("%c",186);
		gotoxy(beginx+width-1,beginy+1+count);
	}

/*-------Bottom Horizontal line----*/
	gotoxy(beginx,beginy+height-1);
	printf("%c",200);
	for(count=1;count<=width-2;count++)
		printf("%c",205);
	printf("%c",188);

/*-------Clearing inside the frame---*/
	for(i=1;i<=height-2;i++)
	{
		gotoxy(beginx+1,beginy+i);
		for(j=1;j<=width-2;j++)
			printf(" ");
	}
	gotoxy(currX,currY);	//put the cursor back in place
}
Note that the alternate conio.h library file (which is named as ‘altconio.h’) is in the same directory as my source file, so it is included as:
#include “altconio.h”
I’ll leave you with that for now. Try out the setcolor() function if the altconio.h header file to try out different colors. Experiment with these codes and have fun
#include <stdio.h>
#include “altconio.h”void DrawHLine(int x,int y, int length);
void DrawVLine(int x,int y, int height);
void DrawFrame(int beginx,int beginy,int width,int height);int main()
{
clrscr();
DrawFrame(3,3,10,10);
DrawVLine(15,3,10);
DrawHLine(3,15,10);
gotoxy(0,20);
system(“pause”);
return 0;
}void DrawHLine(int x,int y, int length)
/*
* this function draws a horizontal line when
* the x,y values of the starting point and length
* is given.
*/
{
int count;
int currX=getx(); //get the currecnt cursor position
int currY=gety();
gotoxy(x,y);
for(count=0;count<length;count++)
printf(“%c”,196);
gotoxy(currX,currY); //put the cursor back in place
}void DrawVLine(int x,int y, int height)
/*
* this function draws a verticle line when
* the x,y values of the starting point and height
* is given.
*/
{
int count;
int currX=getx(); //get the currecnt cursor position
int currY=gety();
gotoxy(x,y);
for(count=0;count<height;count++)
{
gotoxy(x,y+count);
printf(“%c”,179);
}
gotoxy(currX,currY); //put the cursor back in place
}
void DrawFrame(int beginx,int beginy,int width,int height)
/*
* this function draws a box when the
* x,y values of the top left corner
* and hieght and width is given, and
* clears the inside of it.
*/
{
int count,i,j;
int currX=getx(); //get the currecnt cursor position
int currY=gety();
/*——-Top Horizontal line——*/
gotoxy(beginx,beginy);
printf(“%c”,201);
for(count=1;count<=width-2;count++)
printf(“%c”,205);
printf(“%c”,187);
/*——-Left verticle line——-*/
gotoxy(beginx,beginy+1);
for(count=1;count<=height-2;count++)
{ printf(“%c”,186);
gotoxy(beginx,beginy+1+count);
}
/*——-Right verticle line——*/
gotoxy(beginx+width-1,beginy+1);
for(count=1;count<=height-2;count++)
{ printf(“%c”,186);
gotoxy(beginx+width-1,beginy+1+count);
}
/*——-Bottom Horizontal line—-*/
gotoxy(beginx,beginy+height-1);
printf(“%c”,200);
for(count=1;count<=width-2;count++)
printf(“%c”,205);
printf(“%c”,188);
/*——-Clearing inside the frame—*/
for(i=1;i<=height-2;i++)
{
gotoxy(beginx+1,beginy+i);
for(j=1;j<=width-2;j++)
printf(” “);
}
gotoxy(currX,currY); //put the cursor back in place
}